
I just wasn't loving the price tag. :)
I figured to try and make it with some velvet fabric, buy even that is a bit expensive.
So I thought before getting rid of our decaying pumpkins on the front stoop, I'd try to make some using inexpensive fabric that was also on sale.
Bonus!
The pictures certainly aren't the greatest. I used my phone with poor lighting.
I was hoping to start this project with plenty of day light to take some step-by-step photos, but realistically couldn't even start until the sun was already down.
I've only made one so far and hope to do at least 2 more. I hope to take better pics with my second attempt and with my real camera.
First, I gathered all of the supplies I would need:
pumpkin stems
desired fabrics
needle
thread
marker
scissors
dried beans or rice
hot glue gun

Depending on how large you like your pumpkins, you can use what you'd like for a circular stencil.
For this first pumpkin, I used the bottom of a lamp shade to trace a circle on the back side of the fabric (printed duck fabric).
I will probably use something different to trace the circles for my other 2 pumpkins to give them varying sizes. Maybe a pot lid, a waste basket, etc...

Then simply cut out your circle with some fabric scissors.


I had a helper when it came time to cut the stem from one of the collapsing pumpkins. :)
I'm planning on using the different orange fabrics for the other 2 pumpkins.


Thread your needle and widely-stitch around the diameter of your circle.
I don't have pics of the next part, due to some distractions ;) but when your thread gets close back to where you started sewing, start cinching your fabric/pulling it to form the pumpkin shape.
But before you finish, fill your form with rice (what I used) or dried beans to your desire. Then continue stitching until it's closed. I did a couple of "x" stitches across the top of the cinched opening to add extra reinforcement.
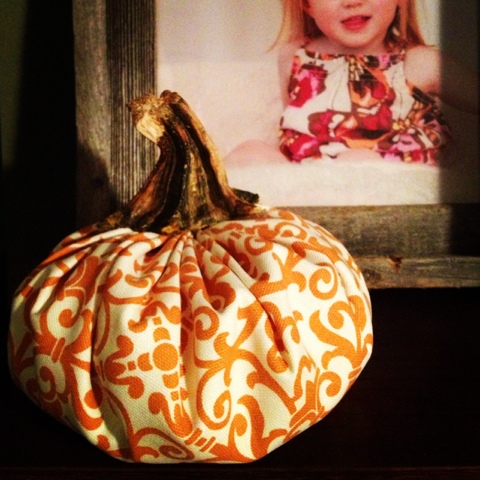
Then you can hot glue your stem right on top of the bundled stitching.
Display and enjoy!
No comments:
Post a Comment